Call Us
Send Us A Message
Get a Quote
There is a 100 piece minimum to work with a sales rep.
Screen Printing: 25 pieces minimum
Embroidery: 3 pieces minimum
Water-based Transfers: 1 pieces minimum
Direct-To-Garment: 1 pieces minimum
Patches: 25 pieces minimum
Office: (323) 261-8700
9 AM - 5:30 PM PST
Chat Available 9 AM - 2 AM PST
Back
Your dedicated account rep is here to keep you updated and offer real time suggestions and project navigation every step of the way. Online ordering and live price quotes available here.
This will help us tailor the experience depending on your experience and know how to best support you.
Select one or as many of the services below you are interested in.
If you need help to identify the correct product for the correct demographic at the correct price point, select "I need help searching" and we will ask you a few additional questions to allow us to submit the best options for your project.
We want to make sure your recipients will love and wear the merch you create time and time again. These questions will really help us identify the products that will best fit your audience.
Please make sure that you have reached minimum order quantity for preferred option. MOQ descriptions you can find
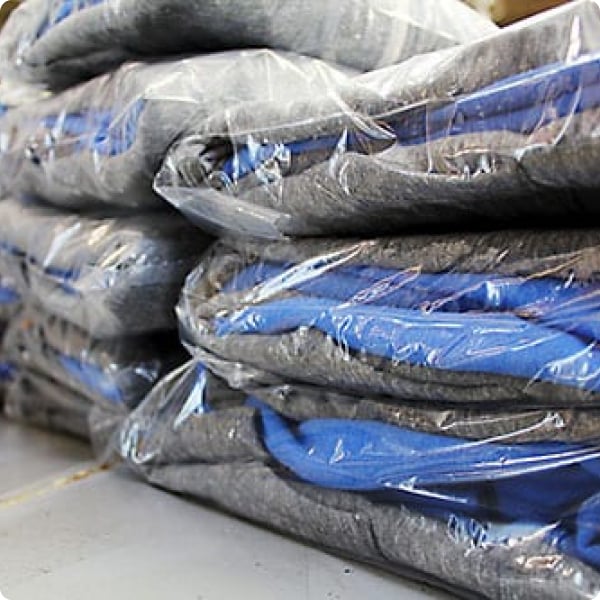
DTLA Print has an in house finishing department in its facility with trained individuals to professionally fold and bag your garments. Bags can be provided with customizable options, however we use a 1 mill flat poly bag which can be air sealed or taped shut.
$0.95/Shirt
+ 2 days
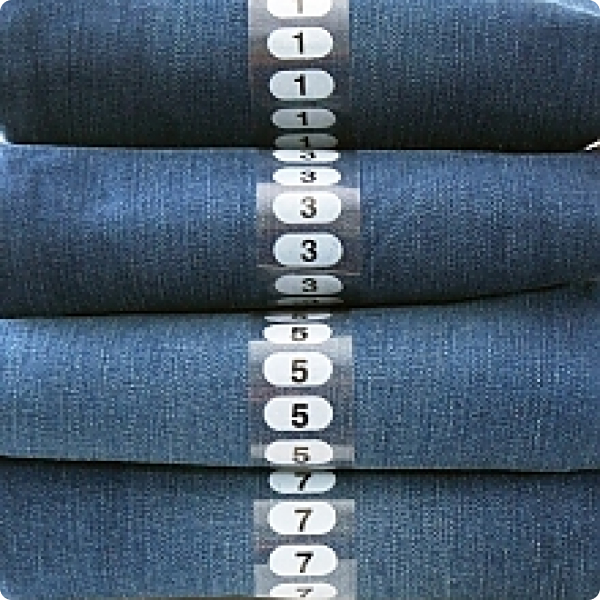
Add a size sticker to the outside of each garment or poly bag to easily identify the size of a garment. Packages do come separated by size how ever many retailers and fulfillment centers do require these stickers.
$0.65/Shirt
+ 2 days
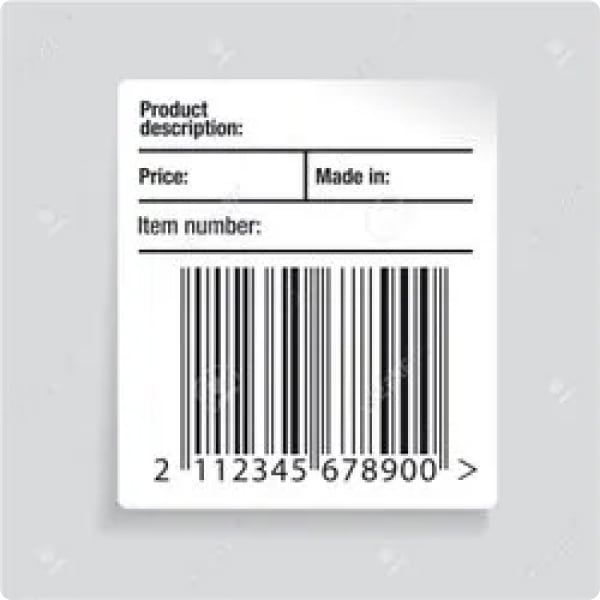
We will print & apply a custom UPC label for any retailer, 3rd party logistics or fulfillment partner you work with.
$0.75/Shirt
+ 2 days
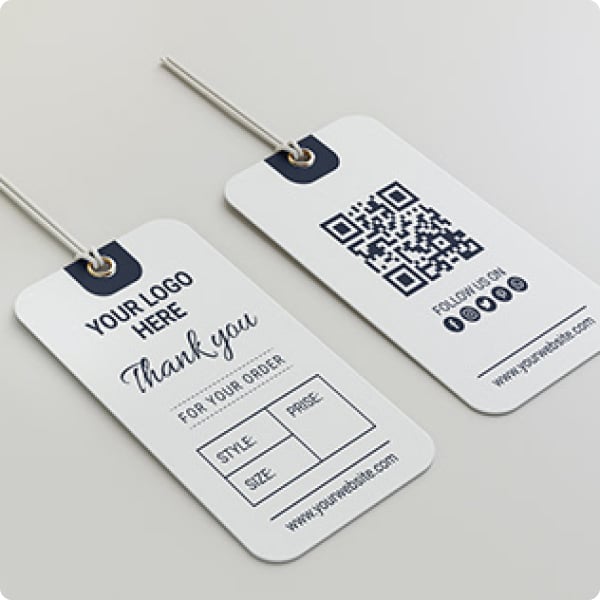
Incorporating price tickets and hang tags securely with a pin, while offering a diverse array of sizes, colors, and finishes, significantly enhances the perceived quality and overall appeal of your garment. Additionally, not only elevate the garment’s perceived value but also provide essential product information, giving your customers a more informed and satisfying shopping experience.
$1.8/Shirt
+ 14 days
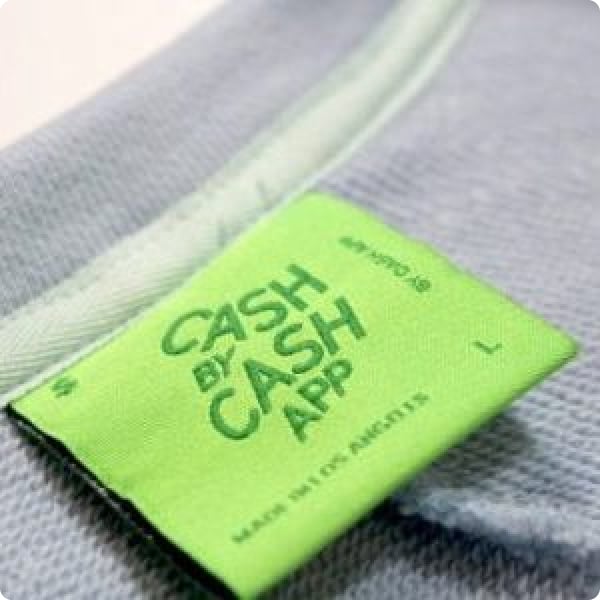
Create a fully custom woven main label. Includes the actual label itself and the sewing of the label. We will reach out to discuss the woven label material choices, shapes, and design. Please note this does add extra business days to the production time.
$2.75/Shirt
+ 14 days
Create a fully custom woven hem label. Similar to the main label, this includes the actual label itself and the sewing of the label. We will reach out to discuss the woven label material choices, shapes, and design. Please note this does add extra business days to the production time. Hem labels go anywhere except the neck label of a garment.
$1.85/Shirt
+ 14 days

4.5” W but larger can be requested
Not common, but possible
PSD, AI, PDF, EPS, PNG
12
Metallic & 3D Puff
Scaled to size or larger with transparent background
3” - 12” depending on location
15x18” *special request
PSD, AI, PDF, EPS, PNG
8
3M Reflective, Water-based, Plastisol, Puff, Etc...
Scaled to size or larger with transparent background
15x18”
PNG preferred, ( also acceptable; PSD, AI, PDF, EPS, JPG )
Unlimited
300 DPI scaled to size or larger with a transparent background
10x13.5”
PNG preferred, ( also acceptable; PSD, AI, PDF, EPS, JPG )
Unlimited
300 DPI scaled to size or larger with a transparent background
15x18”
PNG preferred, ( also acceptable; PSD, AI, PDF, EPS, JPG )
Unlimited
300 DPI scaled to size or larger with a transparent background
Upload Mockups
Don’t worry! Every order is triple checked even if it does not look perfect in this demo.
Max File Size: 15 MB. For any files larger than 15MB please send via wetransfer.com or dropbox.com and share with sales@dtlaprint.com
Tax exemption is the reduction or removal of a liability to make a compulsory payment that would otherwise be imposed by a ruling power upon persons, property, income, or transactions. Tax-exempt status may provide complete relief from taxes, reduced rates, or tax on only a portion of items. Examples include exemption of charitable organizations from property taxes and income taxes, veterans, and certain cross-border or multi-jurisdictional scenarios.
*Only orders shipped with in California are charged tax unless a a valid CA resale form is provided.
Production time is separate from shipping
If you're in a hurry to receive your order, we offer an expedited service to fast-track the production process. While this option incurs additional charges, it ensures you get your product sooner. However, if time is not a pressing concern, you can stick to our standard production schedule at no extra cost. We believe in providing you with the flexibility to choose the timeline that best suits your needs.
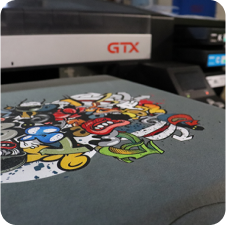
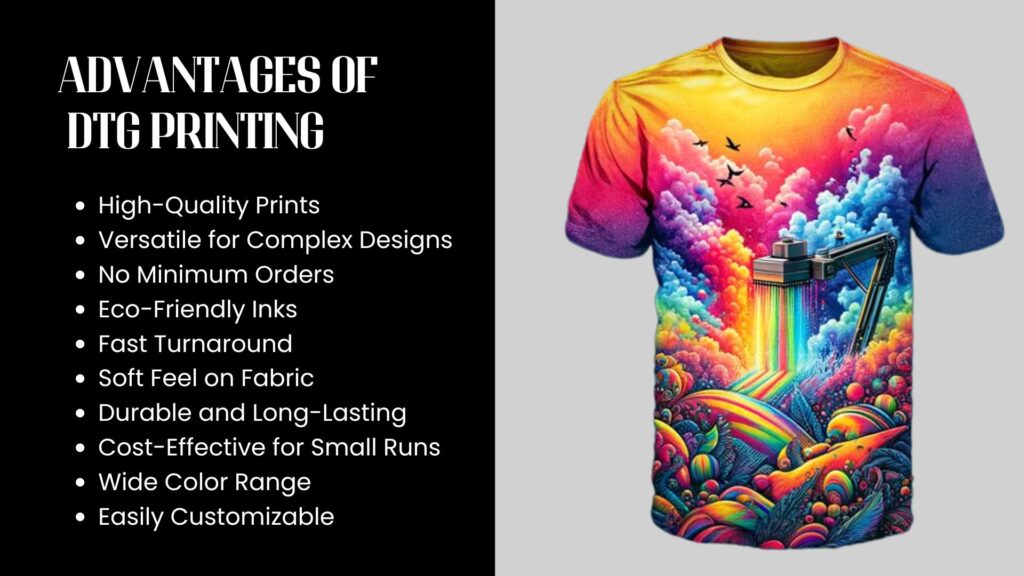
In the world of custom branded apparel, Direct to Garment (DTG) printing has revolutionized the way we print colorful and complex designs on fabrics. This advanced printing method offers a fast, affordable, and efficient solution for producing high-quality prints on various garments. In this blog post, we’ll take you through the entire DTG printing process step-by-step, from pre-treatment to finishing, ensuring you have all the knowledge you need to create stunning custom branded apparel.
Direct to Garment (DTG) printing is a digital printing technique that prints images and designs directly onto fabrics using specialized inkjet technology. Unlike traditional screen printing, which requires multiple steps and color separations, DTG printing allows for the creation of vibrant and intricate designs quickly and cost-effectively. This makes it an ideal choice for custom t-shirts, hoodies, and other garments.
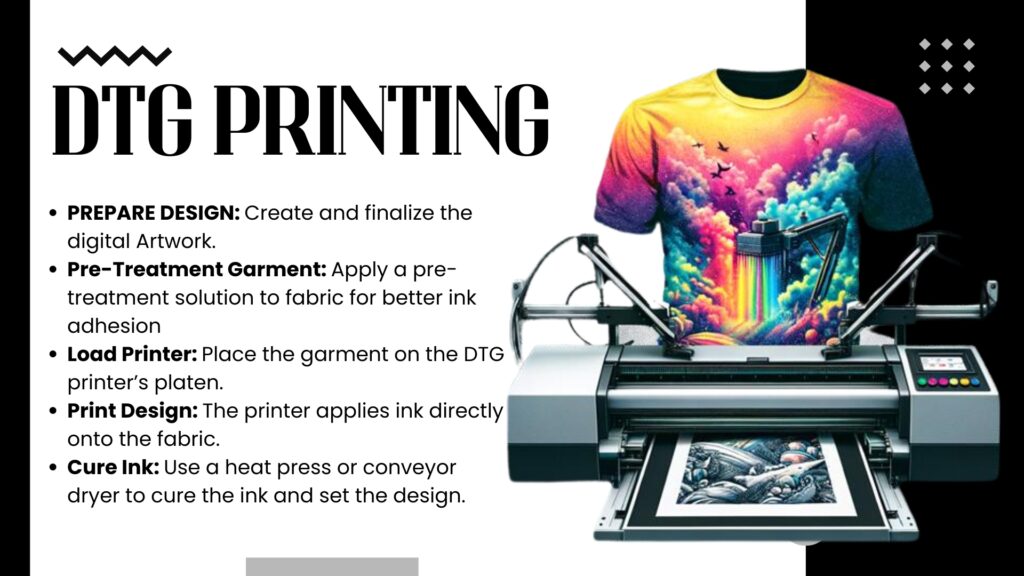
Pre-treatment is a crucial first step in the DTG printing process. It involves applying a special solution to the garment to help the ink adhere better, ensuring vibrant colors and excellent washability. Here’s how it’s done:
Once the garment is pre-treated and dried, it’s ready for printing. Here’s how to print your design using a DTG printer:
The final step in the DTG printing process is curing the garment to set the inks and ensure durability:
DTG printing offers numerous advantages over traditional printing methods:
Direct to Garment (DTG) printing is a game-changer in the custom apparel industry, offering a fast, affordable, and efficient way to print high-quality designs on various fabrics. By following the step-by-step process outlined in this guide, you can create stunning custom garments with ease. Whether you’re a small business owner or a hobbyist, DTG printing provides the perfect solution for all your custom branded apparel needs.
In partnership with onetreeplanted.org
In partnership with onetreeplanted.org
Please provide the best contact number for our team to reach out to you on, your account rep will reach out within 24-48 business hours.
A 100 piece minimum is needed for an account rep to handle your order.

